Blurry print output:
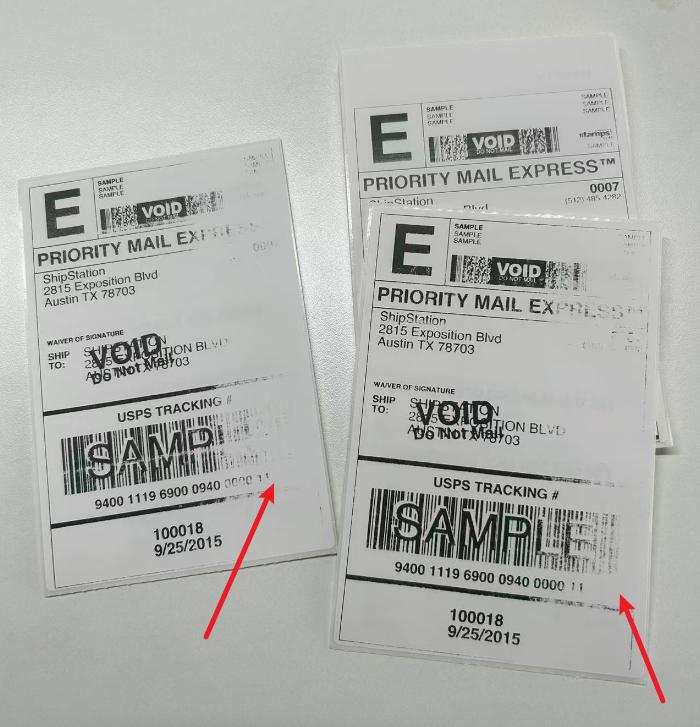
If you find blurry areas in the printout, please follow these steps to troubleshoot:
Step 1: Inspect and clean the printhead
First, check the printhead (the part that deposits ink/toner onto the paper) for dirt, ink residue, or foreign objects (such as small pieces of paper). These contaminants often clog the flow of ink or toner, resulting in blurry images.
If you find blurry areas in the printout, please follow these steps to troubleshoot:
Step 1: Inspect and clean the printhead
First, check the printhead (the part that deposits ink/toner onto the paper) for dirt, ink residue, or foreign objects (such as small pieces of paper). These contaminants often clog the flow of ink or toner, resulting in blurry images.
If you find dirt or foreign objects, please follow these steps to clean the print head:
- Unplug the power cord and check if the printer is turned off.
- Ensure the printer has cooled down for 3 minutes before cleaning.
- Open the top cover.
- Wipe the printhead clean after spraying alcohol onto a wet wipe or paper towel.
- Wait 2-5 minutes to allow the alcohol to evaporate.
- Close the top cover.
After cleaning, perform a test print to check if the blurriness has been resolved.
Step 2: Press down on the print head (if it’s still blurry)
If blurry areas remain after cleaning the printhead:
- Gently press the print head.
- A common cause of blurry images on one side is a stuck printhead. Pressing this button will re-align the components and resolve the issue.
- After pressing, print another test page to verify whether the problem has been resolved.