How to Use the Printer on Chromebook via USB Cable?
The Arrvel A42BT printer is compatible with Chromebooks.
Steps:
1. Connect the printer to the Chromebook using a USB cable.
2. Connect the power cord to the adapter, connect it to the printer, and then plug it into a power outlet.
3. Press and hold the power button for 3 seconds to turn on the printer.
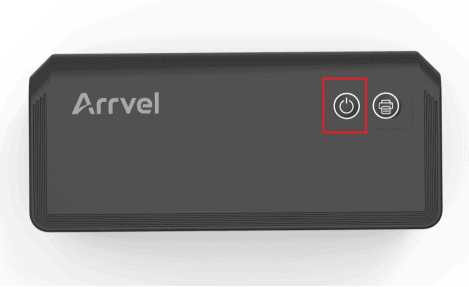
4. Enable ChromeOS mode: Press and hold the Feeder button until you hear 3 beeps.
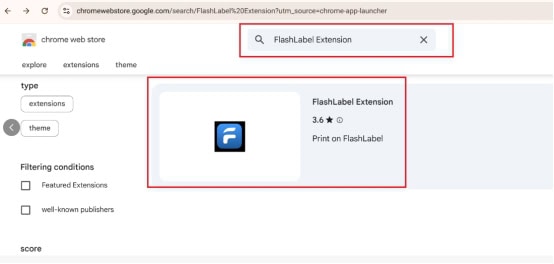
5. Add the FlashLabel printer extension to Chrome.
FlashLabel extension: https://chromewebstore.google.com/detail/flashlabel-extension/ngcmpilohmfalkfodjommledggkemhjp
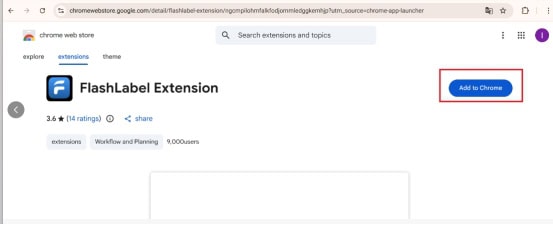
6. Click “Add to Chrome”
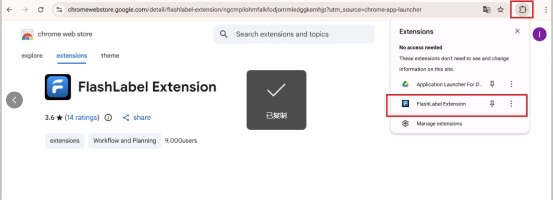
7. Click “Add”, select ‘A42BT‘ from the pop-up list, and click Connect.
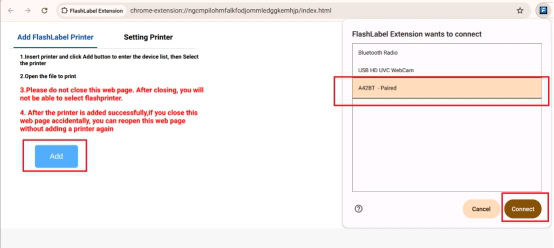
Note:
1. If the corresponding printer model does not appear in the device search interface, the system may not be able to recognize the model.
Try removing and re-adding the FlashLabel extension to resolve this issue.
2: Do not close the page after clicking “Add” after connecting; closing it will prevent printing!
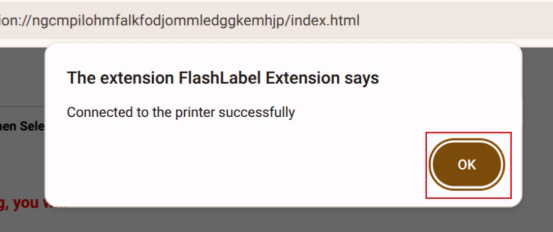
8. Click “OK” after successful connection.
9. Open your PDF file, select the paper size that matches the label paper, and select “Fit to printable area“.
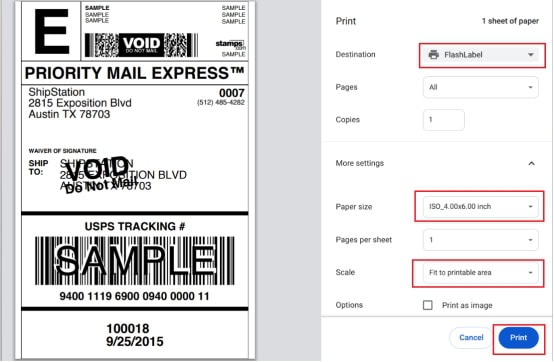
Note: If you need to print again after closing the extended interface, you must reopen it and keep the interface after clicking “Add” before printing; otherwise, printing will fail.