How to Use the Printer on Linux via USB Cable?
The printer requires a driver to be installed on the computer to function properly.
Steps:
1. Connect the power cord to the adapter, then connect it to the printer and plug it into a power outlet.
2. Connect the printer to the computer using a USB cable.
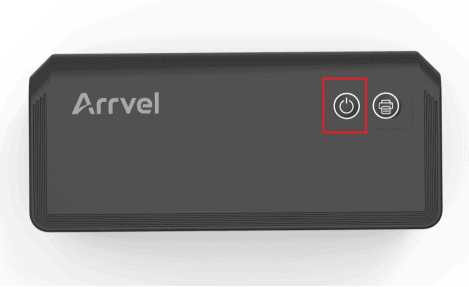
3. Press and hold the power button for 3 seconds to turn on the printer.
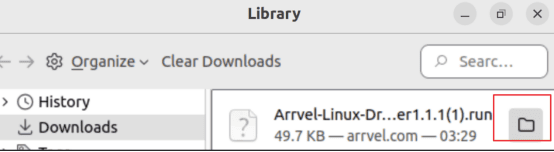
4. Download the driver from this link: A42BT Resource Center
5. Open the downloaded driver file in the folder.
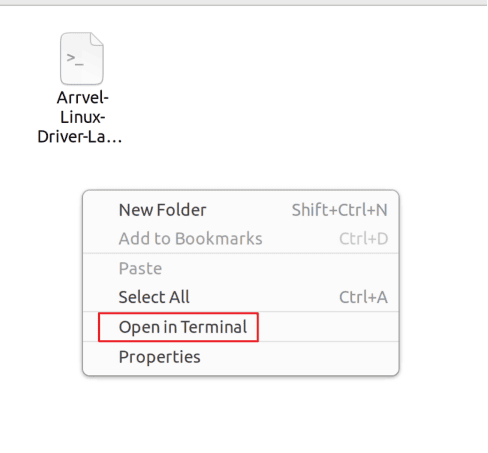
6. Right-click in the blank area, select “Open in Terminal”, then run the .run driver file.
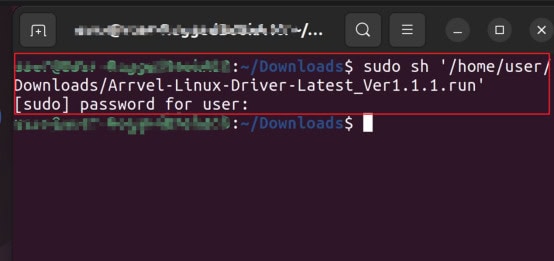
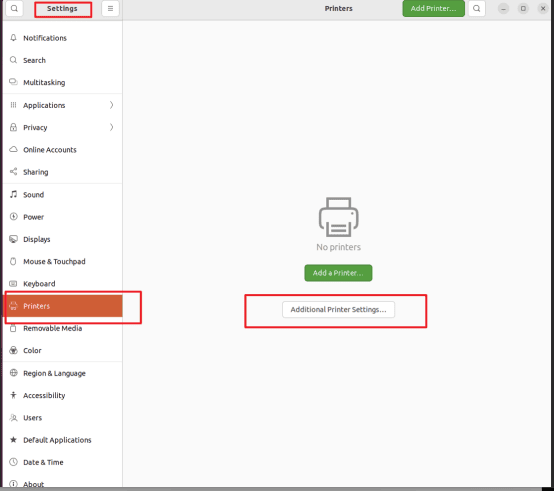
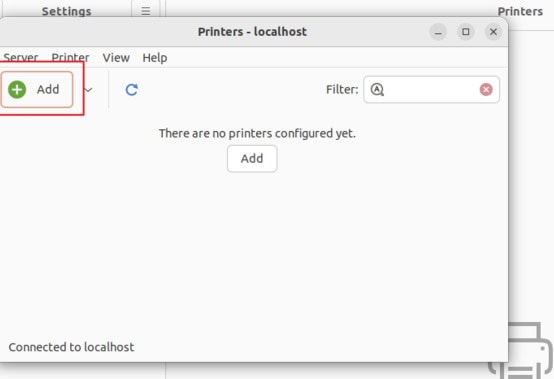
7. Open the printer in Settings, click “Additional Printer Settings…”, then click the “Add” button in the next window.
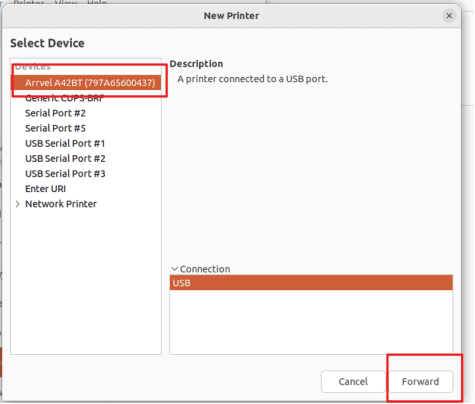
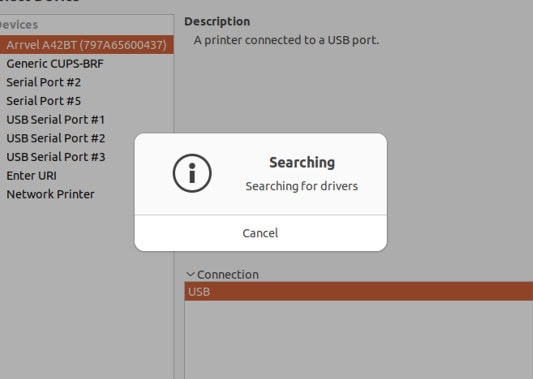
8. Select “Arrvel A42BT”, then click “Forward”
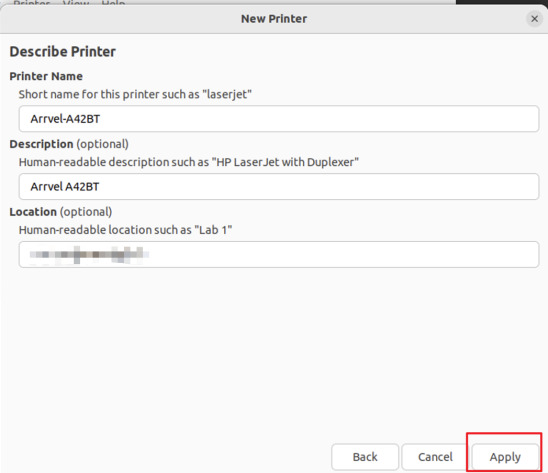
9. After clicking “Forward”, the program will search for compatible printers, which takes approximately 30 seconds. No action is required during this process; simply wait until the new interface appears.
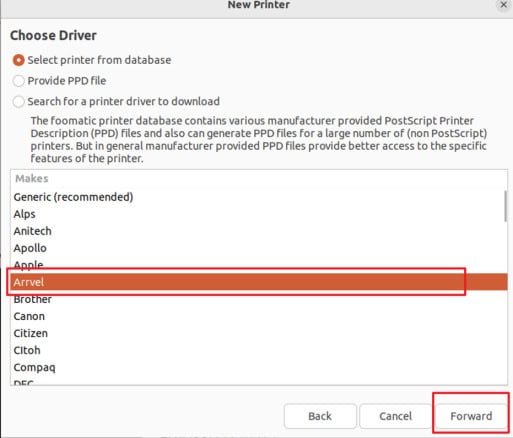
10. Select “Arrvel”, then click “Forward”.
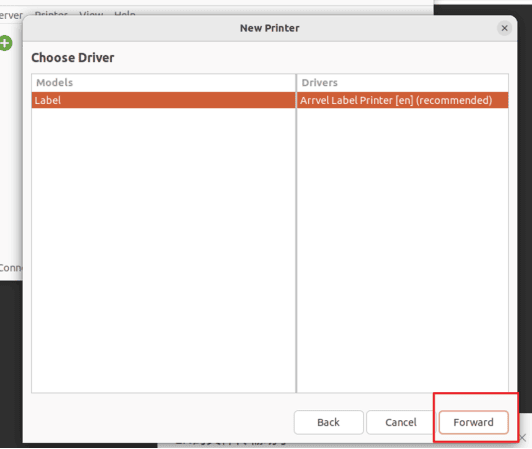
11. Click “Apply”. Now that the printer is set up, you can open your file and print.